| ASSEMBLY INSTRUCTIONS
To begin, You will need a Standard Monopoly™ board. The board is mainly used for game pieces such as tokens, houses, and hotels. First you will need:
|
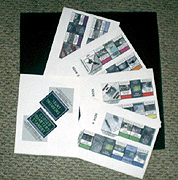
| Print out out the GAME BOARD images 1 through 4, Card Holders, and Board Center on desired paper (Full Sticker Sheet in my case). |
|
|
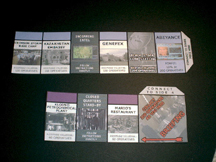
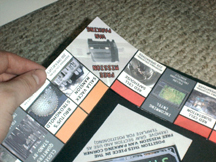
begin by cutting out side one with a scissors or X-acto knife and metal ruler. |
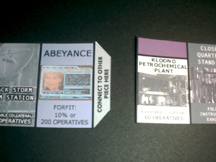
| Attach the small and large pieces at the connection tab, |
|
|
making sure that the black lines overlap so it is the same width as the rest of the lines in-between game spaces. |
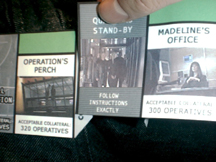
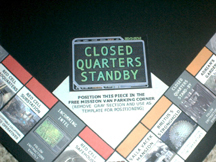
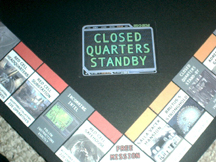
| Once you have large and small side pieces together.. begin attaching the sides to the corner tabs, Making sure they all fit properly to form a complete square. (Side 1 Briefing - Side 2 White Room - Side 3 Free Mission Van Parking - Side 4 Go to the White Room) |
|
|
Once you have all 4 sides together, it is time to place it on the board itself. it must be 19 inches X 19 inches MINIMUM. If you are leaving a boarder, make used you measure out from the edge. In my case, the board is 20 inches X 20 inches, with a 1/2 inch boarder edge. |
|
|
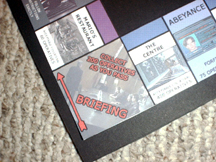
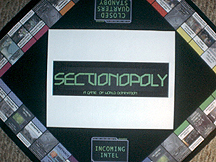
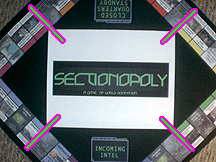
For the center piece, Print on Desired paper (Full Sheet Sticker Paper shown) and align it up as shown in the pictures. The Briefing Corner should face toward you and the Center image (Version 2 shown) should also face you. |
| Cut the Center image out of the full sheet, but save the white area as a template to align the Center logo. Line up the corners of the white paper template to the lines of the COMM stations as seen in image to the right. |
|
|
Attach Image and remove White template. YOU NOW HAVE A COMPLETED BOARD! |
Print out Intel Cards on ORANGE paper and the CQS cards on YELLOW paper (the closer to Card Stock Paper the better) Then print out the property cards on Card Stock Paper. Then cut out all cards with a scissors or X-acto knife and metal ruler. Now that the last step is finished, all you have left to do is read the directions and play. |
|